
With the Duramin-40, we can take before and after pictures easily, so we can see potential cracks before we start the tests – and analyze them more efficiently afterwards.Everllence Jesper Vejlø Carstensen Senior Research Engineer, M.Sc., Ph.D.
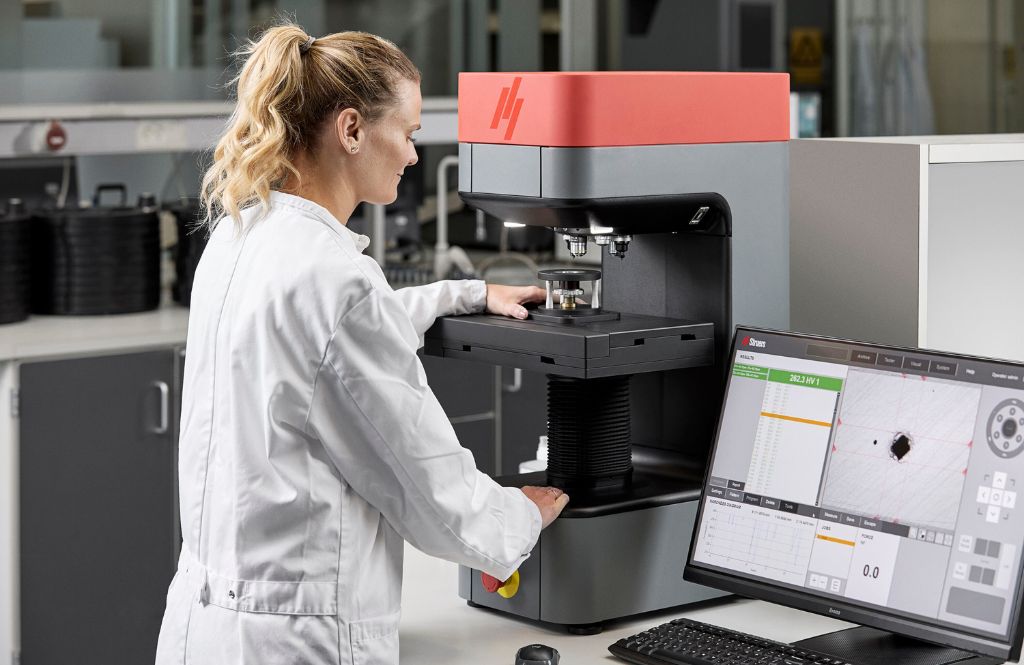


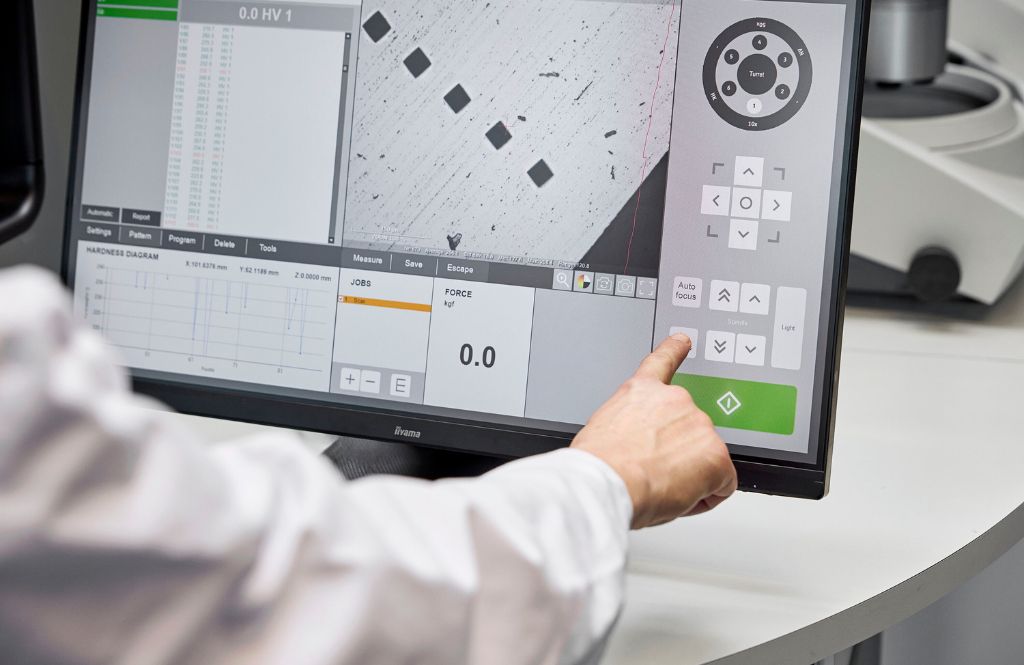


The DuraVista-40 is an automated micro-hardness tester, supporting the Vickers, Knoop, and Brinell scales up to 62.5 kg. It is software-controlled with a built-in high-resolution camera and motorized Z-axis with autofocus, thus ensuring repeatable and effortless results. The models with automated stage unleash limitless automation possibilities.
Use the overview camera for fast positioning of the pre-programmed patterns and let the DuraVista do all indent and measurement work unattended. Higher and more reliable throughput without the need to hire more lab staff.
Both hard- and software were designed to comply with ISO and ASTM standards fully from the load mechanics, the optical system, and the high-resolution camera to the advanced software algorithms. The Z-axis is controlled with a precision ball screw spindle for a fast and precise movement for focus and positioning. Unique in its class.
Today, automation is widely accepted as THE solution for consistency and quality. DuraVista-40 with a closed-loop cell improves for process accuracy and limits the risk of human influence. Manage all machine control and workflow processes effortlessly using the 27” industrial capacitive touchscreen. Start multiple jobs at once and focus on other duties while the DuraVista-40 handles all the indent-measure work for you.
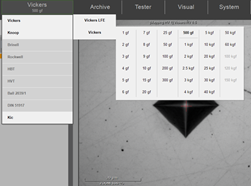
The unique, configurable test load range from 0.1 gf to 62,5 kg (0.00981 N to 612.9 N) can cover many applications that usually require both a micro- and a macro-indentation hardness tester. It also unveils new areas of interest with its sub-micro loads. It covers many Brinell, Vickers, and Knoop test methods and can automatically convert hardness values according to current standards.
The DuraVista-80 excels with its innovative movable test head, specifically engineered to swiftly position both the load system and optical components at the exact target location. Its advanced dual displacement mechanism enhances accuracy by incorporating a dedicated high-precision load motor, ensuring precise application of test loads for reliable and consistent results.
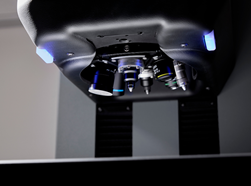
Unlock superior flexibility with the advanced 8-position turret, a testament to precision mechanical engineering. Its angled configuration ensures complete access and improved sample visibility. The turret can be configured for Vickers, Knoop, or Brinell indenters, and is fully field-replaceable, offering unmatched adaptability to diverse testing needs.
Top-tier microscope-grade optics crafted to capture the most intricate details. Equipped with proprietary lenses and white LED Köhler illumination, along with an optional polarizer, it guarantees optimal contrast even at higher magnifications. The sophisticated optical system is meticulously engineered to ensure full compliance with ISO and ASTM hardness testing standards.
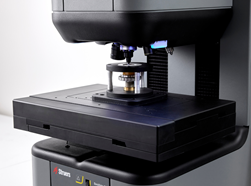
Our touch focus technology, equipped with a dedicated touch probe, provides fast and accurate auto-focus over extended distances. Engineered for dependable performance, it enhances operator independence while ensuring superior consistency and repeatability.
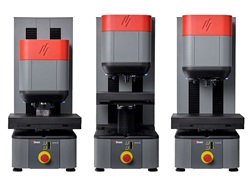
The Twin models, DuraVista-80MT and AT, set a new standard for versatility by featuring a motorized test table spindle. This design, combined with the movable test head, allows for seamless and precise positioning of samples at an optimal ergonomic height. The result is unmatched flexibility and ease of use, making complex testing procedures more efficient and comfortable for operators.
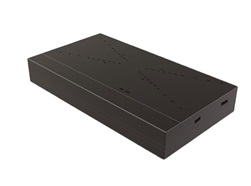
Introducing the Struers DirectConnect motorized stage, with built-in encoders for high repeatability. Available in three sizes to fit your needs, it offers fast, accurate navigation over multiple samples and allows you to get more done. The cable-less design enhances durability and streamlines your setup.
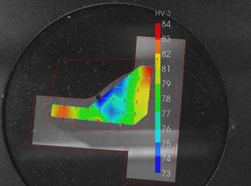
The optional overview camera makes it easy to position the test point series across a sample and execute it with a few mouse clicks. This feature ensures simplified execution and setup and is helpful when performing repetitive or high-volume measurements or weld testing.
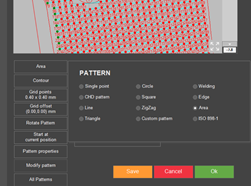
Several software modules are available to match particular applications. These include modules covering case hardness depth measurement (CHD), weld measurement, surface mapping, edge detection, and Kc fracture toughness calculation.
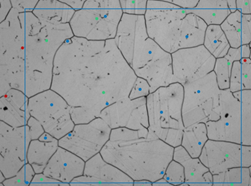
For measuring substrate hardness, layer thickness, grain size, or phases in limited lab space or needing fast evaluations in production, the DuraSoft-Met module is your solution. Save valuable time with its improved workflow, combining hardness testing and metallography analyses in one machine. With the DuraSoft-Met module, the DuraVista-80 doubles as a low magnification microscope for precise measurements on etched samples.
All DuraVista-40 testers feature a motorized Z-axis, 18-megapixel high-resolution camera, LED illumination, auto focus, and automatic image evaluation. Each model includes an integrated PC and a 27-inch full-HD touchscreen. An additional indenter position is available upon request.
DuraVista-40M can be equipped with a fixed flat or V-anvil, a manual XY-stage, or a motorized XY-stage. It features a motorized six-position measurement turret, and testing and reporting are handled by the included DuraSoft PC software.
DuraVista-40A builds on the 40M model with an overview camera (FOV 200 x 160 mm) for easy test point positioning and various software options for creating test patterns. It also includes the DuraSoft-Met metallography package for grain size, coating thickness, and phase analysis. The 40A model offers a range of motorized stage sizes, all with a test height of 0-148 mm.
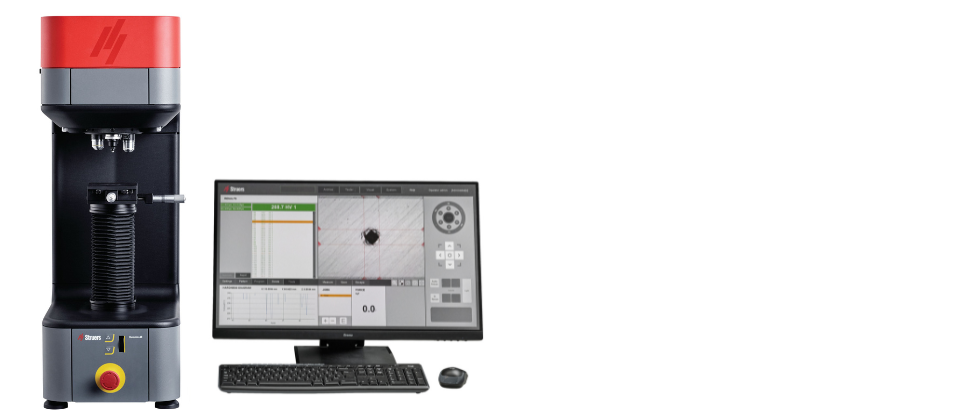


A short and clear description that gives you an immediate overview to help you make the best choice of equipment.
• Capacity and performance specifications
• Dimensions and weight
• Electrical data
• Noice levels
• Safety
Get the full introduction, descriptive visuals, and key feature descriptions to help you qualify your choice of equipment.
• Explanatory fotos
• Key feature descriptions
• Technical Data Sheet
Get more insights and key feature descriptions to help you qualify your choice of equipment.
Learn about:
• Load ranges
• Key feature descriptions
• Expansion possibilities
"True structures require proper and correct applications. Different material properties require broad application knowledge. Struers application specialists are experts in optimizing preparation methods, because application knowledge is necessary to select the correct preparation solutions. Your material – our application solutions.”
Birgitte Nielsen
Application Specialist, Struers ApS
Don’t make do with what we say! Look for the truth in the experiences of the people who use our equipment and knowledge. We asked a few of our loyal customers to tell us what they think is most important about Struers.

With the Duramin-40, we can take before and after pictures easily, so we can see potential cracks before we start the tests – and analyze them more efficiently afterwards.Everllence Jesper Vejlø Carstensen Senior Research Engineer, M.Sc., Ph.D.

We are extremely satisfied with the highly skilled service delivered by Struers. They always meet our needs quickly and efficiently.BRP Powertrain GmbH & Co. KG (Austria) Herr Thomas Brunmair Supervisor Material Lab

Since adopting Struers equipment, we have made significant savings within our manufacturing process as a result of reduced manpower requirements and productivity improvements.Nissan Motor Manufacturing UK Ltd. John Smart Production Supervisor